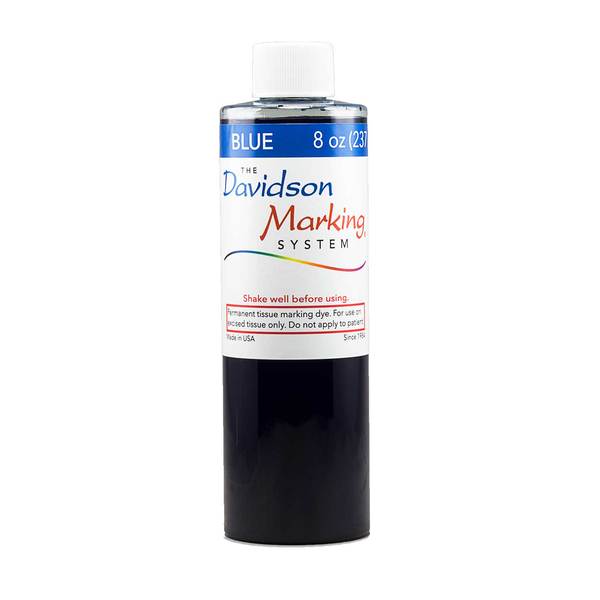
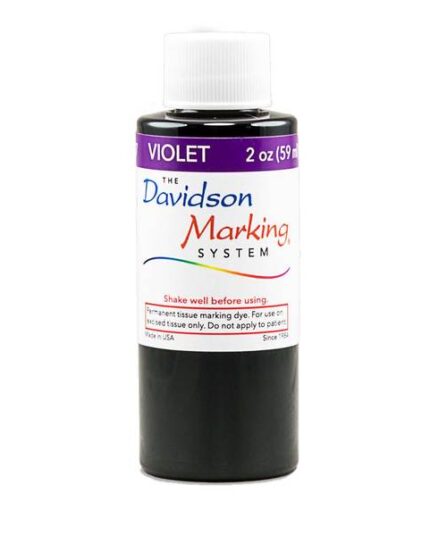
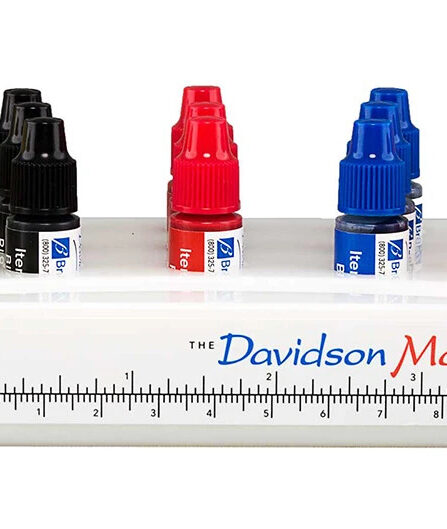
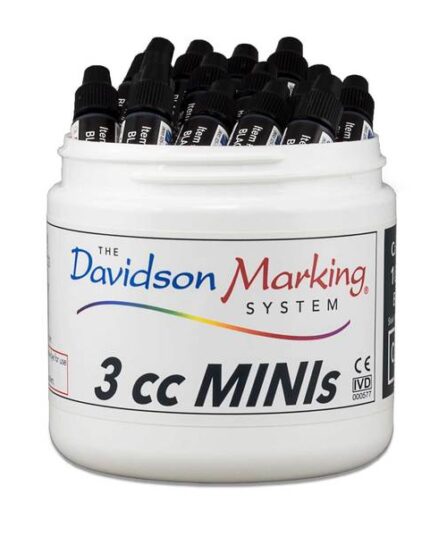
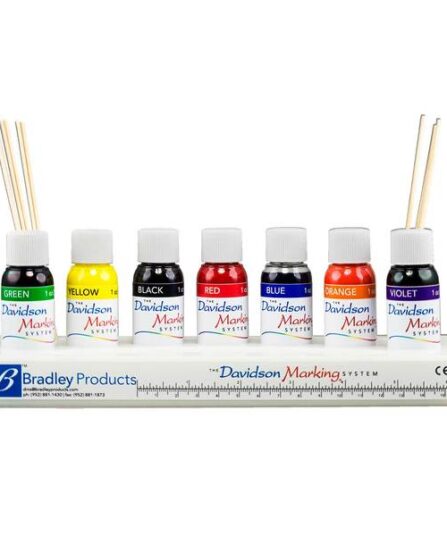
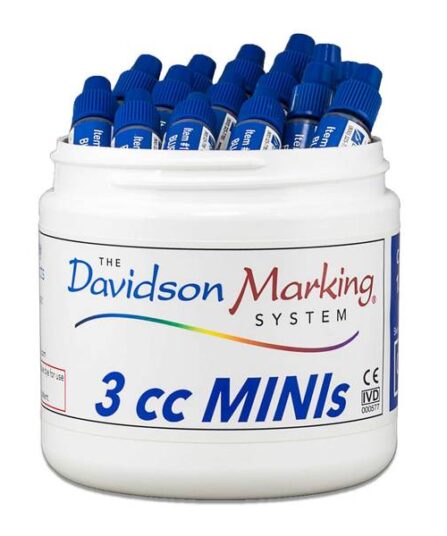
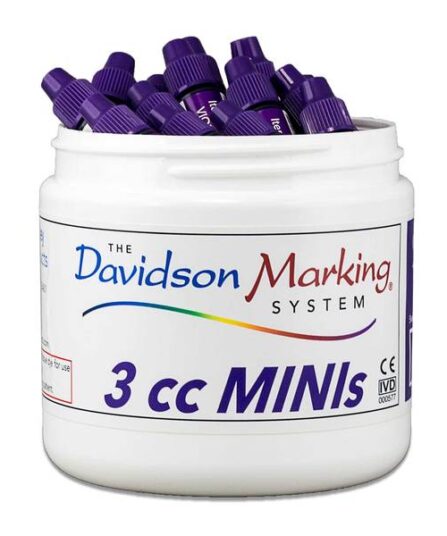
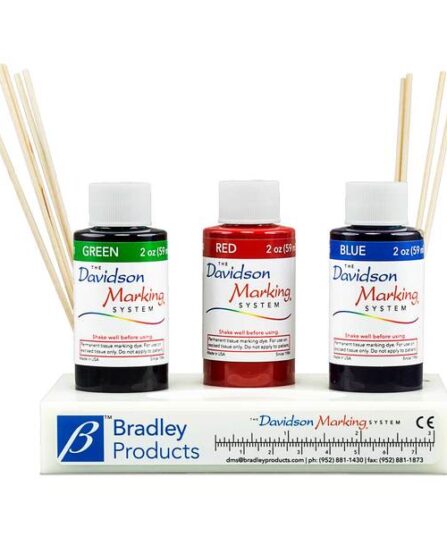
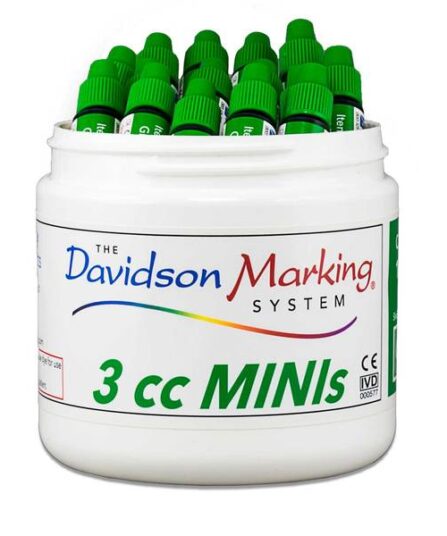
Developed specifically for use in histology and pathology. Our individual 237ml Tissue Marking Dyes are available in 8 different colours allowing you to mark superior or inferior borders and advance searches for tumours and other pathologies.
What is the difference between using the dyes for margins or for orientation?
Margins: The dyes used in the classic fashion for margins are applied to the perimeter of the surgical specimen before it is cut or sectioned or otherwise altered. The dye adheres to the periphery and once the sectioning is complete, any place where dye is located is a tissue margin.
Many tumor margins today are not examined in the perpendicular fashion, but in the tangential fashion as originally described by Frederick Mohs. In these applications, anything on the slides represents tumor at the margin.
Orientation: The dyes are applied in such a way that they maintain tissue orientation. The typical orientations are superior, inferior, medial, lateral, right, left, etc. While there are numerous paradigms for the application of orientation markers, the most conventional is to section the tissue and then apply the marking dyes.
What is the most important tip you can give for assuring adherence of the Davidson® dyes to the tissue?
The longer the dye is given to naturally “bond” to the tissue, the stronger the adherence quality. We recommend thinking of this as “bonding” time rather than “drying time. We recommend 1-2 minutes for “bonding”. Some have suggested a blow dryer may help speed up the process. This helps “drying” time, but it does not necessarily help “bonding” time. Some have suggested the use of fixative. If a fixative must be used for a particular process, we recommend simple acetic acid. A fixative may be appropriate when working with fatty tissues.

