Tissue fixation is a crucial step in histology that involves preserving the structure and cellular components of tissues for subsequent processing and analysis. Fixation consists of two steps: cessation of normal life functions in the tissue and stabilising the structure of the tissue (preservation) by his preventing autolysis starting and enzymatic decomposition from taking place.
Preserving and maintaining the shape and structures of samples allows analysis to take place on a “fixed” state of tissue at a particular point in time. Thus, enabling patterns to be observed, morphological and chemical changes to be noted and comparisons to be made resulting in a histopathological diagnosis.
Types of Fixations
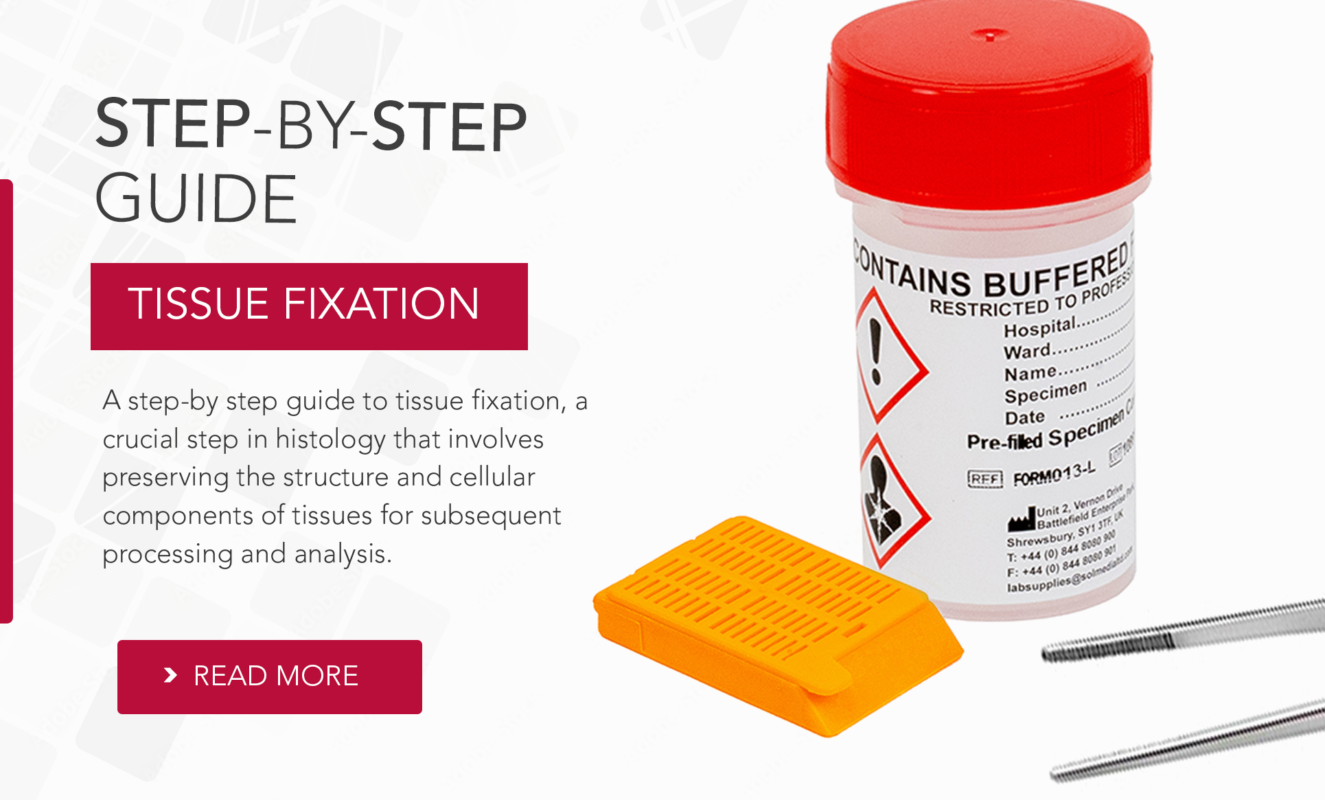
- Chemical fixation includes immersing the specimen in the fixative (immersion fixation) or perfusing the vascular system with fixative (perfusion fixation) for small animals or some whole organs perfusing the vascular system with fixative (perfusion fixation). Fixative solutions may contain a single fixative agent dissolved in a solvent such as water or alcohol or more commonly, a buffer solution to stabilise pH. Some popular fixative solutions contain several different fixing agents in combination.
- Physical methods of fixation include heating, micro-waving and cryo-preservation (freeze drying) which have some applications in histochemistry but are not usually applied to diagnostic tissue specimens. Heat fixation is rarely used on tissue specimens and is more confined to smears of micro-organisms.
Steps of Chemical Tissue Fixation:
- Selection of Fixative- Choose an appropriate fixative based on the type of tissue, intended histological analysis and application. Common fixative groups include Aldehydes, Mercurials, Alcohols, Oxidizing agent and Picrates. Within these categories you will choose out of the following reagents; Buffered Formalin (10% neutral buffered formalin), Glutaraldehyde, Ethanol, Methanol, Acetic Acid, Potassium Permanganate, Potassium Dichromate, Osmium Tetroxide and various specialised fixatives for specific purposes.Depending on which Fixative you choose, there are two main mechanisms of chemical fixation are cross-linking and coagulation.
- Tissue Preparation – Trim the tissue specimens to a suitable size and shape for fixation. Larger tissues may need to be sectioned into smaller pieces, the thickness of the tissue after grossing should ideally be between 2mm and 4mm to facilitate penetration of the fixative.
- Perfusion (if applicable) – For tissues from larger animals or whole organs, perfusion fixation may be performed to ensure uniform fixation throughout the tissue. Perfusion involves the injection of fixative through the circulatory system to replace blood and other fluids with the fixative.
- Fixation – Immerse the tissue specimens in the selected fixative solution. The ideal ratio of fixative to tissue should be 10-20 times (10:1) the volume of fixative to tissue.
- Buffering (if using formalin) – If using formalin as the fixative, ensure that it is buffered with phosphate buffer to maintain a stable pH and enhance fixation. Buffered formalin (10% neutral buffered formalin) is commonly used in histopathology.
- Post-Fixation Rinse (optional) – After fixation, rinse the tissue specimens briefly in a buffer solution (e.g., phosphate-buffered saline, PBS) to remove excess fixative and reduce carryover of fixative contaminants during subsequent processing steps.
- Dehydration (if necessary) – For tissues that will be processed for paraffin embedding, dehydration may be performed after fixation to remove water from the tissue. Dehydration is typically achieved through a series of graded alcohols (e.g., 70%, 95%, 100% ethanol).
- Storage – After fixation, tissue specimens can be stored in the fixative solution for short-term storage or transferred to a suitable storage medium for long-term preservation. Ensure proper labelling and documentation of tissue specimens for traceability and identification.
Factors affecting fixation
- Temperature – In general, an increase in temperature increases the rate of fixation but also increases the rate of autolysis and diffusion of cellular elements. Traditionally, 0 to 4 °C has been considered the ideal temperature for the fixation of specimens. Now fixation is routinely carried out at room temperature.
- Concentration of Fixative – If the concentration of fixative is too low the tissue will not fix. However, if the concentration is too high this may adversely affect the tissue and the outer layer of the tissue will fix too quickly and become too dense and will not penetrate the entire sample.
- Size of tissue – Between a 2–3 mm thickness is ideal for an adequate fixation.
- Fixative volume ratio– A fixative volume of at least 10-20 times greater than tissue volume to ensure that the entire tissue sample is fixed.
- Time interval – The faster you can get the tissue into a fixative the better.
- Time – Fixation taking place in Buffered Formalin can take place within 2 -8 hours however ideally within 24 hours. Prolonged fixation can cause hardening and shrinkage of tissue.
- pH – Fixation is best performed near neutral pH, ideally kept in the physiological range, between pH 6-8.
Summary
Fixation is one of the first steps of any histopathology study and ensuring this step is carried out correctly is pivotal to the entire process, any mistakes made at this initial stage can result in the loss of the diagnostic value of the sample. The specific protocols and techniques used may vary depending on the tissues being fixed, the fixative employed, and the requirements of the histological analysis however, proper tissue fixation is essential for obtaining high-quality histological specimens suitable for accurate diagnosis and research.