Routine Staining
Stains play an important part in the day-to-day practice of histology. The use of stains and dyes allow researchers to visualise particular tissue structures, chemical elements within cells, and even micro–organisms such as bacteria, within a sample.
Despite the advancements within the scientific and research industry, some traditional and older staining methods are still in use today and have stood the test of time.
Haematoxylin and Eosin (H&E) stains are the most commonly used stains within histology labs and remain a popular general-purpose stain that researchers use for routine tissue staining. H&E provide contrast to tissue sections as it binds and stains cell nuclei and acidic structures. In addition, it distinguishes the differentiation of cellular constituents, especially the cytoplasm and nucleus. Thus, H&E is used as a type of control for all immunohistochemical staining to show the tissue was correctly processed and enables the histopathologist to make a disease diagnosis.
Before ‘special stains’ are applied, a tissue specimen is initially examined with H&E to determine the requirement for special stains to provide further analysis of the sample.
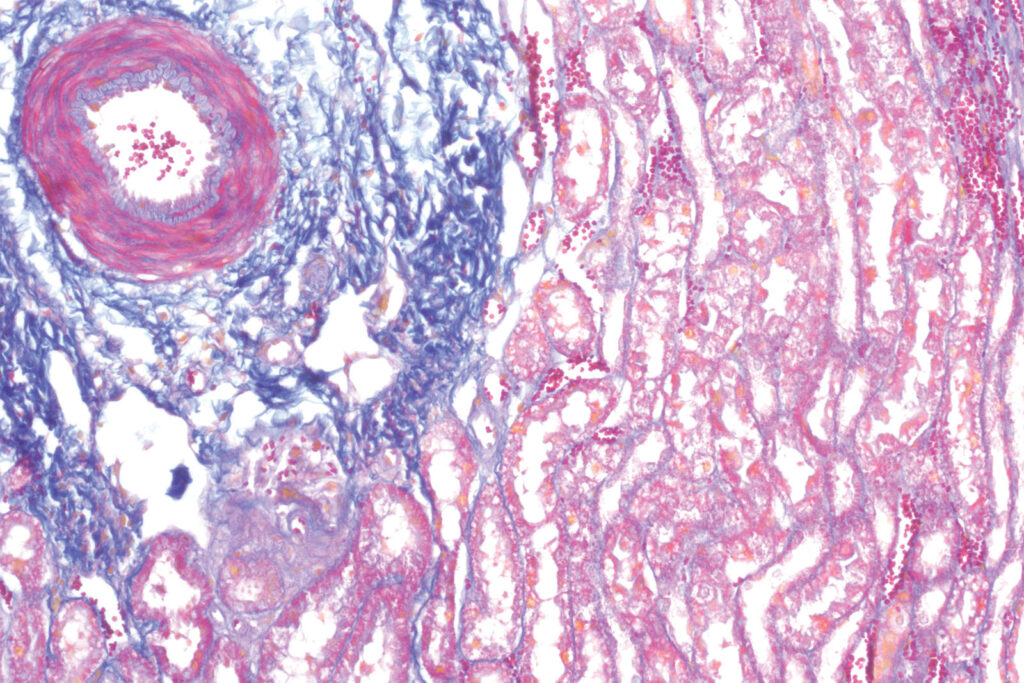
Special Stains
Special staining represents a variety of techniques utilising a more focussed range of stains and dye to highlight specific features and achieve more precise results.
Unlike routine H&E staining that is either progressive or regressive, special stains require different techniques that are based on simple chemical reactions such as acid-base chemistry and oxidation-reduction.
After a tissue specimen has been examined with Haematoxylin and Eosin, a special stain is applied to a sample for a more in–depth evaluation and allow target substances and foreign elements to be identified. This includes components in tissue sections, based on their: chemical, biological and pathological character for example; lipids, calcium, carbohydrates, nerve fibres and fungi to name a small few.
The advantage of special stains is that specific stains can be applied to detect the presence of tissue structures with the addition of a more detailed evaluation of a specimen, diving in deeper into the morphological profile. The stains also act as a confirmation of changes taking place to the tissue including microorganisms and/or specific tissue molecules that cannot be picked up within routine staining.
Various substances can take on a similar appearance in H&E-stained tissues, so special stains are required to help determine what they are. For example, connective tissue and amyloid appear pink in H&E-stained tissues and need to be differentiated. However, using a Trichrome stain is effective at demonstrating the presence of connective tissue, whereas Congo red staining can be used to identify amyloid in the tissue sample.
Examples
There is a vast number of different special stains for all manner of purposes available however, only a few are used with any regularity in clinical histology. Here are some examples of our BioGnost Special Stain Kits and what they can be used to identify.
Trichrome is routinely used in diagnostic labs to evaluate liver diseases, such as cirrhosis. Trichrome stain is an elite stain used only to produce differential colouration of various cell and tissue components. The stain uses three dyes to produce different colouration of basic elements. Various staining approaches exist, of which Masson’s Trichrome and Gomori’s Trichrome are the most commonly used today.
Oil Red O is used to demonstrate the presence of fats or lipids in fresh or frozen tissue sections to detect obesity-linked pathologies such as dyslipidemia and diabetes type. It can also be used in forensic pathology to enhance latent prints produced by oily fingers.
Warthin Starry is considered the best approach to detect Gram-negative organisms, such as small bacilli and spirochaetes. Staining using the Warthin Starry is based on reducing silver nitrate to silver using hydroquinone. The formed silver is deposited on the surface of Helicobacter pylori. The microscopic image should show the bacteria-stained dark brown to black in contrast to cells which will be stained yellow and the nuclei brown. Bacteria may be detected in the mucus of surface epithelium, in apical glands of the stomach, and in the mucosa of the stomach.
Solmedia Top Tips to Staining
- Always use positive controls. Aside from helping determine if the stain is working, using positive controls also serves as a standard and will give you an idea of how the substance should look like. Always use a control slide known to contain the structure/ substance you are trying to demonstrate.
- Accurate timing – the slightest second/ minute difference can affect the accuracy and inconsistency of results and diagnosis.
- Be aware of other variables– Special stains may contain colourless impurities that may interfere with the results. The microscope can also have a negative effect by giving false appearances so make sure your set up is correct.
- Adhere to the method – Use the right amount of stain and follow the right technique/method.
- Understand your stains– Know what you are trying to demonstrate with the stain you are performing.
- Correct Storage – Each reagent is unique, therefore make sure you store them correctly and meet their specific requirements.
- Check the date – Stains can have a shelf-life date and their quality can be affected over time, especially stains that are made up fresh.
For more information, or to speak to our dedicated team about our Special Stains Kits and which stains are the best for your laboratory, contact us on +44 (0) 844 8080 900 or email enquiries@solmedialtd.com