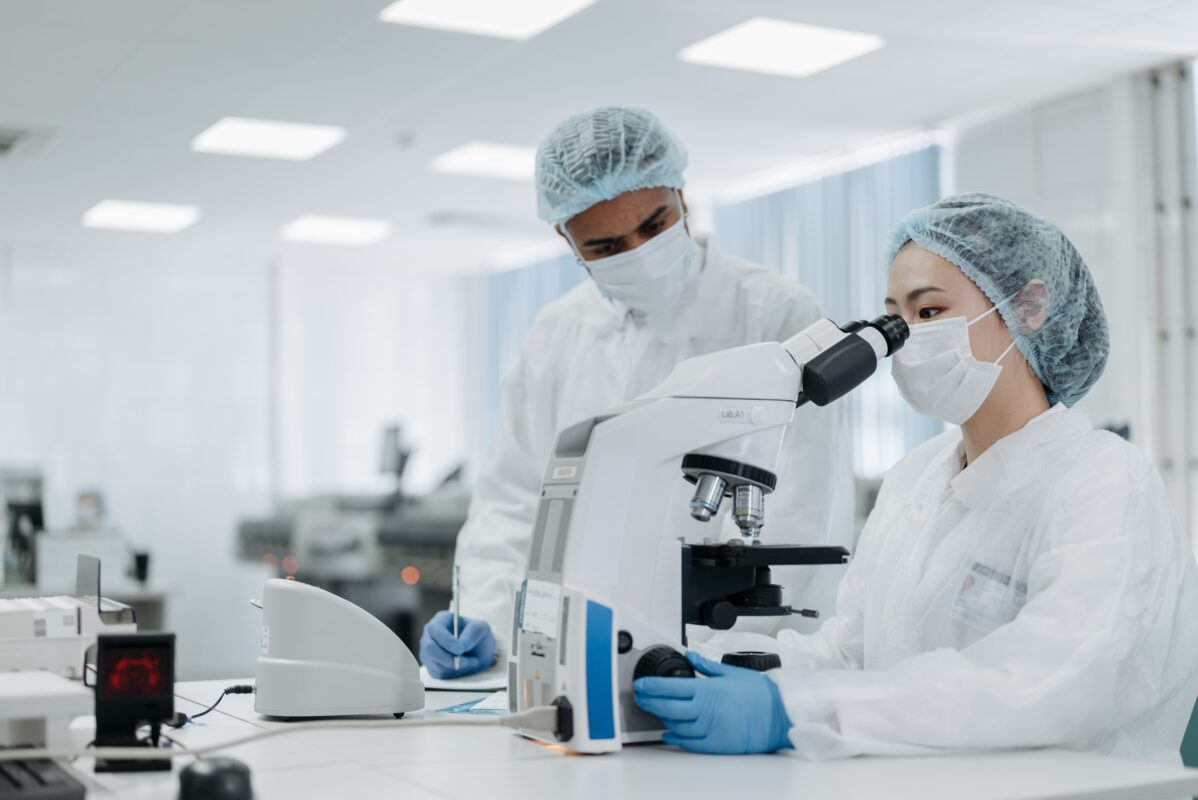
Seven Steps from Sample to Slide
In a report from the WHO (World Cancer Report, 2020) the number of cancer cases stood at 18.1 million cases in 2018 and was suggested to increase to an estimated 27 million cases by 2040, making more efficient biopsy diagnosis and processes pivotal. To ensure the quality of biopsies and accuracy of diagnoses are not hindered by this uprise, it is vital that each step taken; from the collection of samples to the microscopy investigation, is done correctly.
Here is a quick guide of the seven stages a histopathologist takes to prepare a specimen sample and produce a histology slide that is ready for microscopic analysis of cells and tissues.
1. Fixation
Once the tissue specimen has been obtained and is received fresh as opposed to frozen, it must be immediately fixed. The sooner fixation is initiated following the separation of a specimen from its blood supply, the better the result will be.
Fixation is an important step in preparing specimens for microscopic examination. Its objective is to prevent decay and preserve cells and tissues of their state at that moment in time. The most popular reagent that is used for fixing is formaldehyde, usually in the form of a phosphate-buffered solution or otherwise referred to as formalin.
Ideally, specimens should be fixed by immersing into formalin for up to 6 to 24 hours, however long is needed for the fixative to penetrate into every part of the tissue, before it can be processed.
An alternative to fixation is freezing a fresh tissue sample before slicing it into sections. This allows for rapid diagnosis because it bypasses the fixation process, but that comes at the expense of section quality.
2. Grossing
Grossing involves a careful examination and description of the specimen that will include describing the appearance, the number of pieces, dimensions and measurements. Larger specimens may require inking and further dissection. In the case of small specimens, the entire specimen may be processed. The tissues selected for processing will be placed into a cassette and batches will be loaded together onto the tissue processing stage.
3. Processing
Tissue processing can be performed manually (hand processing), or where multiple specimens must be dealt with, it is more efficient to use an automated tissue processing machine. A Tissue Processor is designed to infiltrate the specimens with a sequence of solvents in preparation for sectioning. It is important to highlight that any slight mistake or incorrect schedule of processing can result in damage and loss of specimen that can hinder research or diagnoses.
3A. Dehydrating
Before the specimen can be infiltrated with a liquid agent to convert it into a solid form that is appropriate to cut thin sections from, the specimen must be dehydrated. Because melted paraffin wax is hydrophobic and is immiscible with water, most of the water within a specimen must be removed before it can move to the next step. This process is commonly carried out by immersing specimens in a series of ethanol (alcohol) solutions of increasing concentration until pure, water-free alcohol is reached.
3B. Clearing
Although the tissue is now essentially water-free, it still cannot be infiltrated with wax. Therefore, an intermediate solvent must be used that is fully miscible with both ethanol and paraffin wax. For this, a “clearing” agent is used to clear the specimen of the ethanol. A popular substance is Xylene which includes multiple changes to completely displace ethanol. Additionally, clearing agents are also used to remove substantial amounts of fat from a tissue specimen which can also form a defence against wax.
In many labs, the bulk of tissue processing is carried out overnight with automated and programmable equipment to allow laboratories to improve workflow and reduce turnaround times.
4. Infiltration & Embedding
The tissue can now be infiltrated with a suitable histological wax. Although many different reagents still contend for this purpose, paraffin wax-based histological waxes remain the most popular form of wax. Its particular properties that allow infiltrated specimens to be sectioned at a thickness down to at least 2 µm (a piece of hair is 10 µm), to form ribbons to retain sufficient elasticity to flatten and float on a warm water bath. The use of a high-quality agent at this stage will provide for consistent cutting with minimal compression of the tissue.
Once the specimen is thoroughly infiltrated with wax, it must be formed into a “block” that can be clamped into a microtome for section cutting, “sectioning”. From the processor; the specimen is placed in an embedding centre where a mould is filled with molten wax followed by the specimen being placed within it. With the same cassette, the specimen came from, place this on top of the mould and continue to pour molten wax. The entire thing is then placed on a cold plate to solidify and with the easy removal of the mould, it will form the “block”. The wax and cassette are now ready for section cutting, providing a stable base for clamping onto the microtome.
5. Sectioning
Moving to the next piece of equipment, it’s time to begin sectioning your specimen sample on a microtome. Using a rotary mechanism and a fine sharp metal blade, the surface of the wax is sectioned, exposing the tissue. These sections are extremely thin, with a 3 – 5µm thickness, presenting only a single layer of specimen cells in each section. Multiple sections and continuous cutting allow you to create a “ribbon” of sections that are easier to handle and easier to place onto microscope slides.
To transfer the section onto a microscope slide, the section is carefully relocated to a warm water bath to “float-out” and flatten, where it is easier to collect onto a microscope slide.
6. Staining
When your slide is dry you are able to stain the sample. Most cells in a specimen sample are transparent and appear almost colourless which makes it difficult to differentiate parts that need to be observed. To reveal structural details various solutions and staining methods are applied, depending on the tissue and the cells being identified. The routine stain used universally as a starting point in providing essential structural information is the Hematoxylin and Eosin stain (H&E). With this method, the cell nuclei are stained blue, and cytoplasm and many extra-cellular components are stained in shades of pink. H&E is the most common method of staining within histology, that can actually diagnose multiple different conditions. However, sometimes additional information is required to provide a full differential diagnosis, so further specialised staining is applied to dive deeper into molecular and Immunohistochemistry analysis and determine the exact molecular signature of cancers.
7. Mounting
The last step before your sample is ready to be analysed underneath a microscope. Once the sample has been stained with the required methods, the slide with the specimen on can be mounted with a clear mountant and secured with cover glass sheet ready to be sent off to be viewed under a microscope.