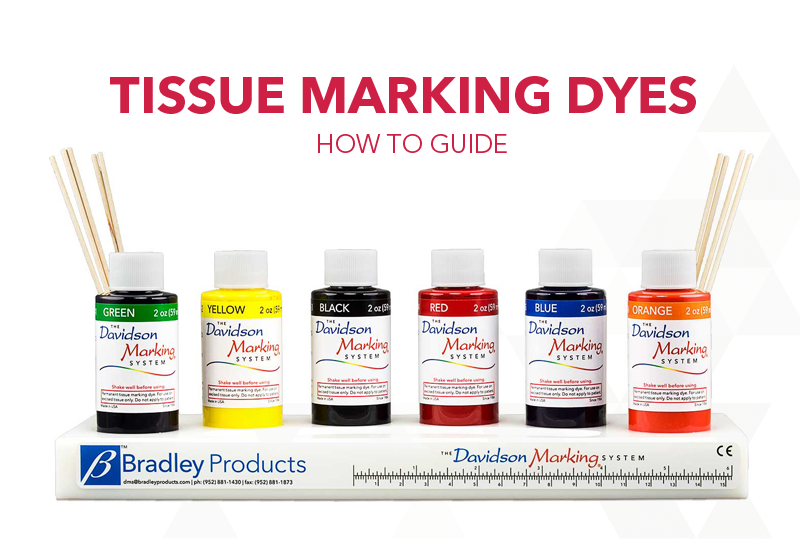
The Davidson® Tissue Marking Dyes are permanent inks used to mark and orient surgical and other tissue specimens submitted for histopathology.
ALWAYS shake the bottle prior to use.
The standard use of these tissue marking dyes is to mark surgical tissue margins. The dyes are most effective when applied to fresh tissue. Fresh tissue should be patted dry before applying the dye.
The Davidson® tissue marking dyes can also be used on fixed tissue. Fixed tissues should be wiped gently to remove the fluids covering the tissue surfaces. It may take slightly longer to dry on fixed tissue.
Apply dyes to excised tissue only. Never apply dye to a living patient.
Apply the tissue marking dye using wooden applicator sticks, cotton swabs, or brushes (depending on the size of the tissue sample). Dip the applicator into the dye and remove excess fluid by touching it to the top of the bottle, apply dye to the appropriate tissue margin.
The tissue marking dyes require 2 to 5 minutes to bond to the tissue surface and should be left alone for this period of time. It is not necessary to dry the tissue or use a mordant.
After use, the caps should be kept on the bottles. When the materials dehydrate they will become ineffective. Do not dilute or attempt to reconstitute the dye.
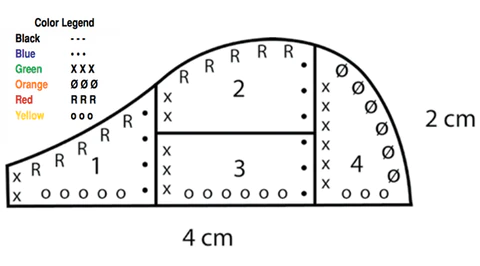
colour mapping example with suggested legend for mapping use
Note on Processing Fatty Tissue
Adherence of tissue marking dyes to fatty tissue, especially for frozen sections, can be a challenge. A recent observation by Brian Datnow, M.D., a pathologist at UCSD, improves this issue. The tissue surface can be defatted with acetone prior to dye application. Squirt or spray a little acetone from a squeeze bottle onto the tissue surface. Pat dry and then apply the dyes and process in the usual fashion, both for frozen and permanent sectioning. This is especially effective for breast and subcutaneous tissues.
Another application for the multi-colour tissue marking dyes is the ability to process multiple specimens in a single cassette. For example, if several skin tags are removed to be examined microscopically, each can be dyed a different colour, all placed in a single cassette, and processed as a single specimen. Before using the dyes for this application, each laboratory should validate the consistency of the dyes in their own institution.
While the principal application for tissue marking dyes is to assist in the orientation of surgical specimens, there are many interesting and useful applications for these dyes. If you believe our dyes may be of use in a new application, please try it, and let us know of your success.